67-72 F100 Blank Slate Gauge Cluster Bezel
67-72 F100 Blank Slate Gauge Cluster Bezel
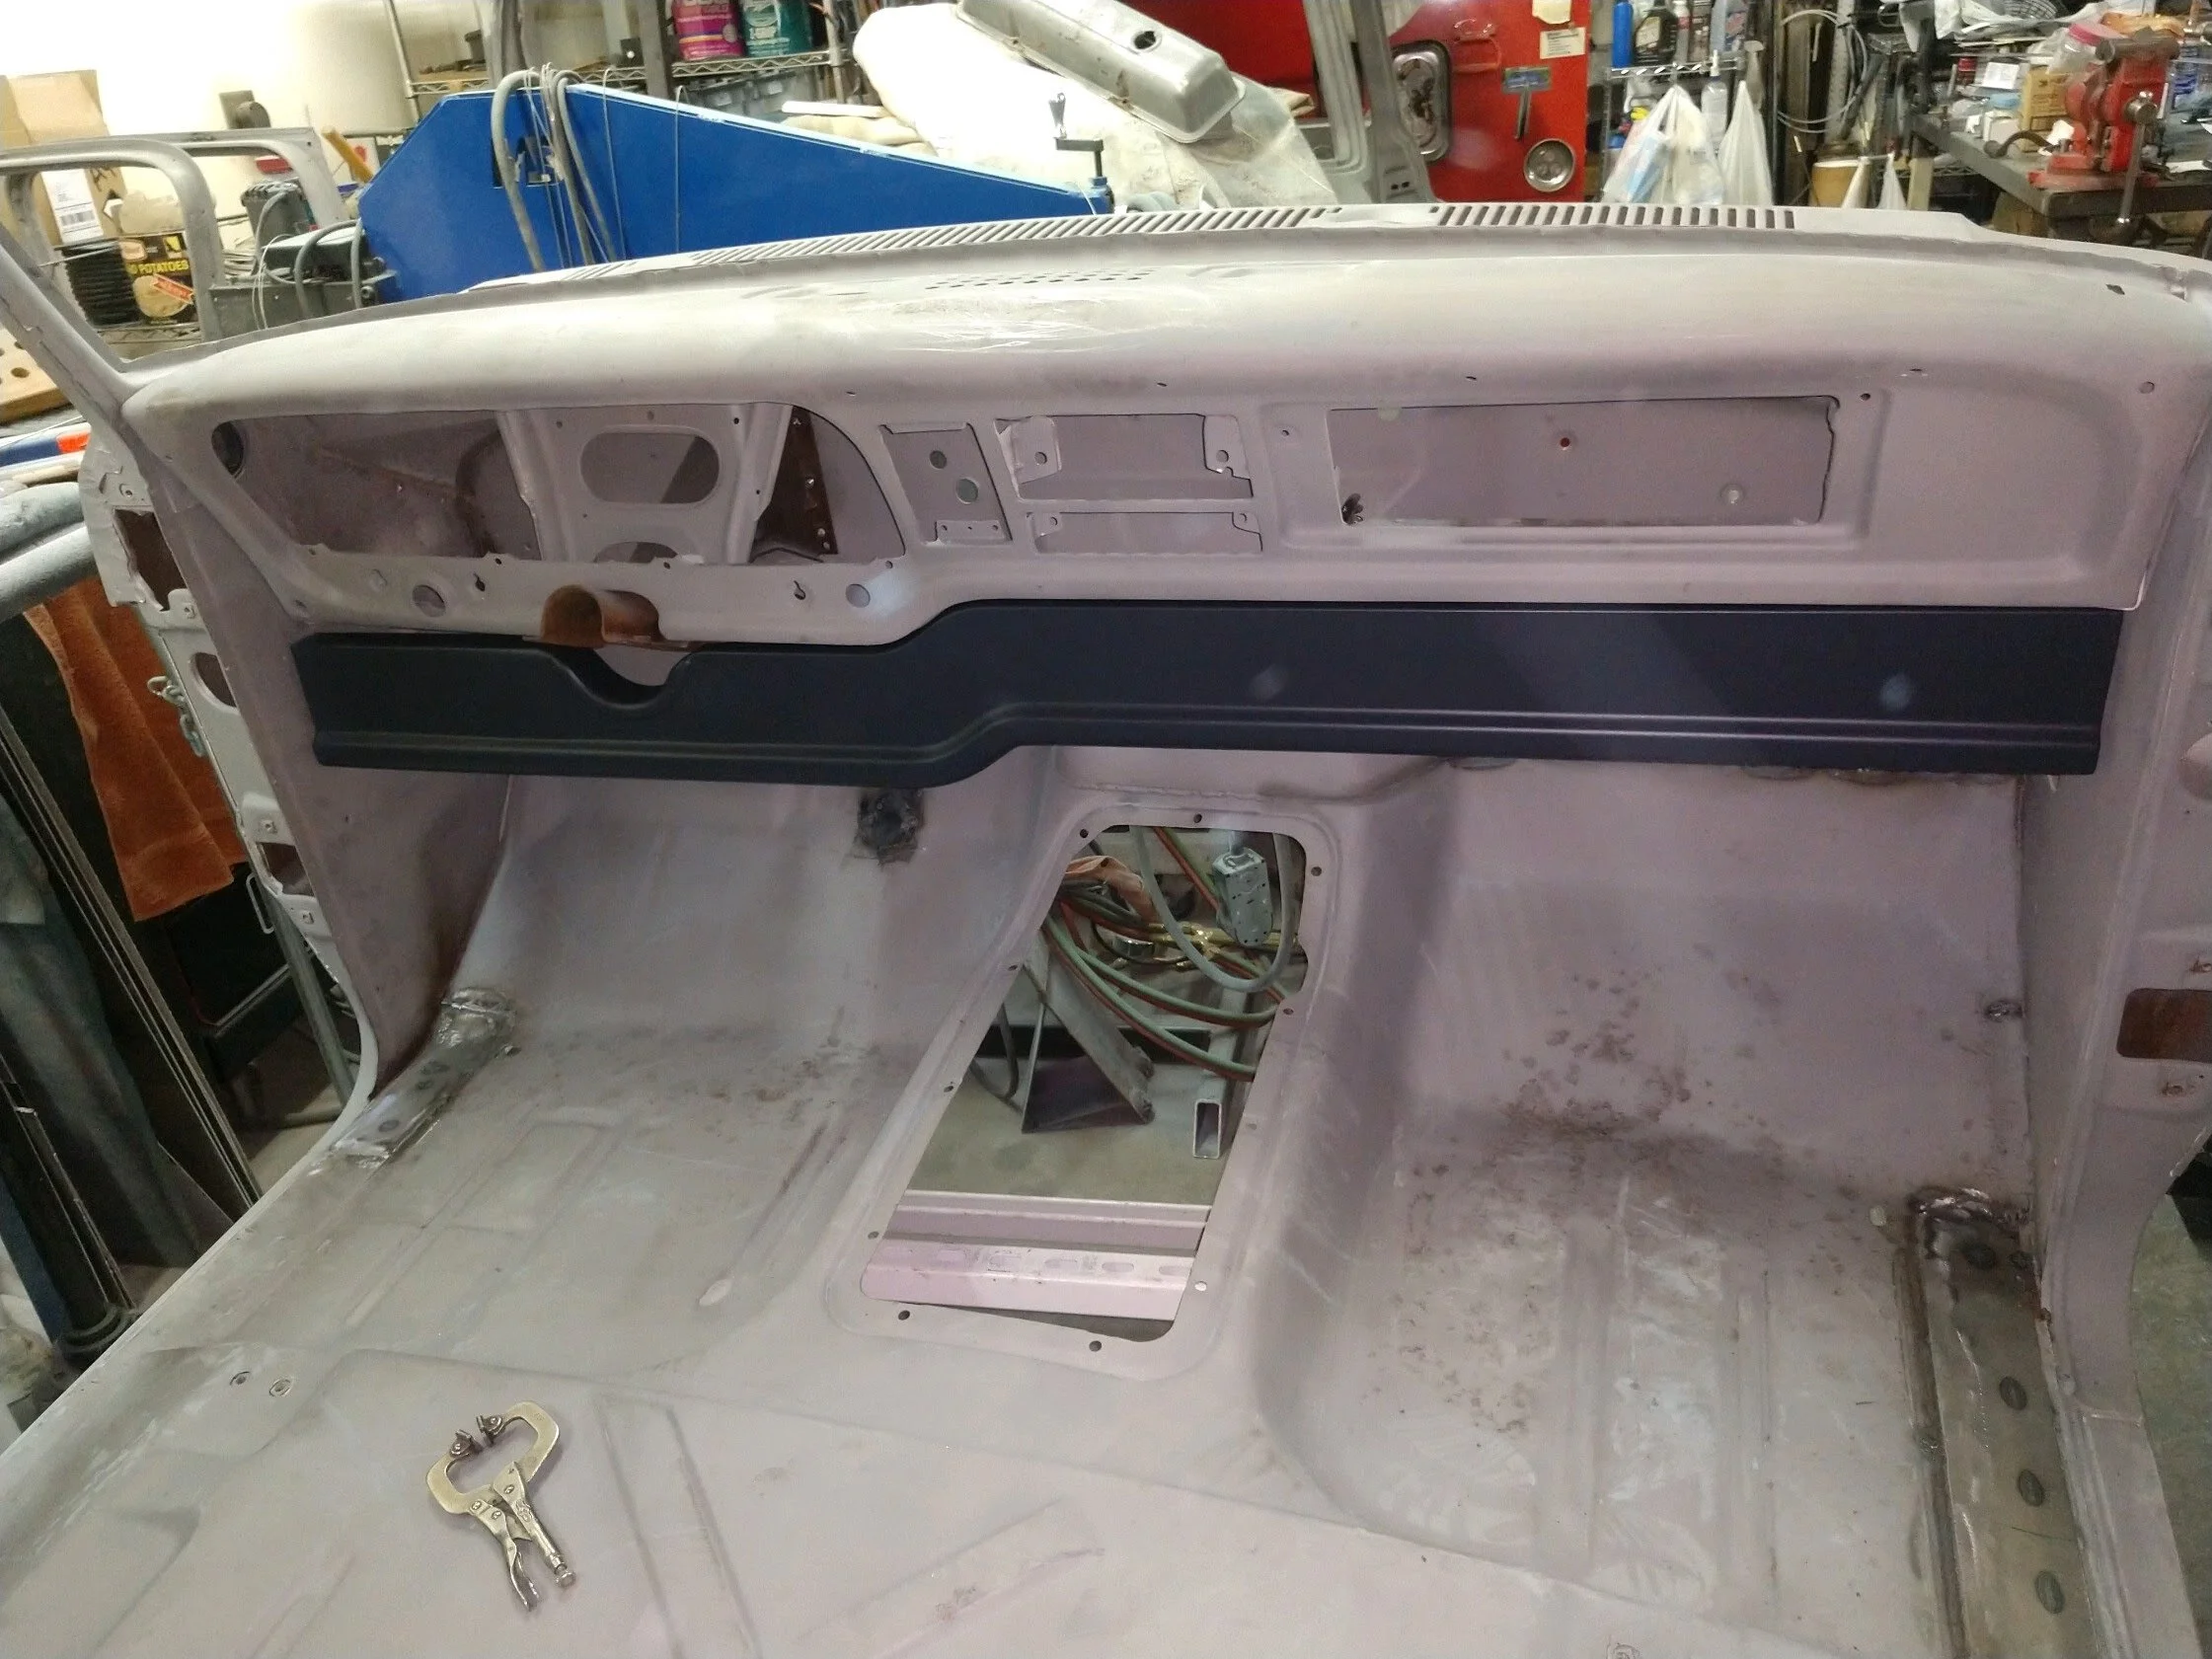
Blank Slate F100 Gauge Cluster Bezels
You put holes where you want.
Elevate your 1967-1972 Ford F100 truck with this sleek bezel, offering endless possibilities to redefine your classic ride's interior.
Expertly crafted for customization, this blank canvas empowers you to tailor your gauge layout to perfection. Whether integrating aftermarket gauges or crafting a unique configuration, this bezel provides the flexibility to bring your vision to life.
Revitalize the appearance and functionality of your F100's dashboard with this premium, versatile bezel.
Rest assured, all Munssey Speed parts are proudly manufactured in the USA.
LEAD TIME ON ORDER
Please allow 6 - 8 weeks for delivery. (these take a while to perfect)
Finish Options
Carbon Fiber - Low Gloss - High-end custom woven 2x2 twill weave carbon fiber backed by layers of fiberglass and finished in a low-gloss (also referred to as satin or ‘dry carbon’) automotive clear coat. Understated and sophisticated. Use this option for interior pieces or as a contrast on exterior pieces where you want a subtle look.
Fiberglass - Gelcoat top finish - If you plan to paint your part, and don’t need carbon fiber, this is the option you want.
Shipping
Shipping will be via UPS 5 day business. When you order is ready to ship, you will receive an email with the tracking number.
Installation Notes
Keep in mind that while all of the composite pieces we offer are crafted to be well-fitting on all vehicles, the manufacturing tolerances of older vehicles may require adjustments to assure a perfect fit. These fenders WILL require some elbow grease to assure a good fit.
If you are not comfortable with fitting body panels or expect parts to magically drop perfectly in place, please don’t consider these fenders. We’ll both be happier that way.
To locate holes we recommend applying masking tape over the front face of the bezel and marking out where you want your holes onto the masking tape. Once you are happy with all planned holes, use a slightly undersized, good-quality hole saw and cut from the masked-off face side of the part to make the initial holes. Then, use sandpaper or a file to slowly size your hole to its final size. Stop and test-fit your gauges along the way until they fit well in the hole.


